Co-hesive Materials
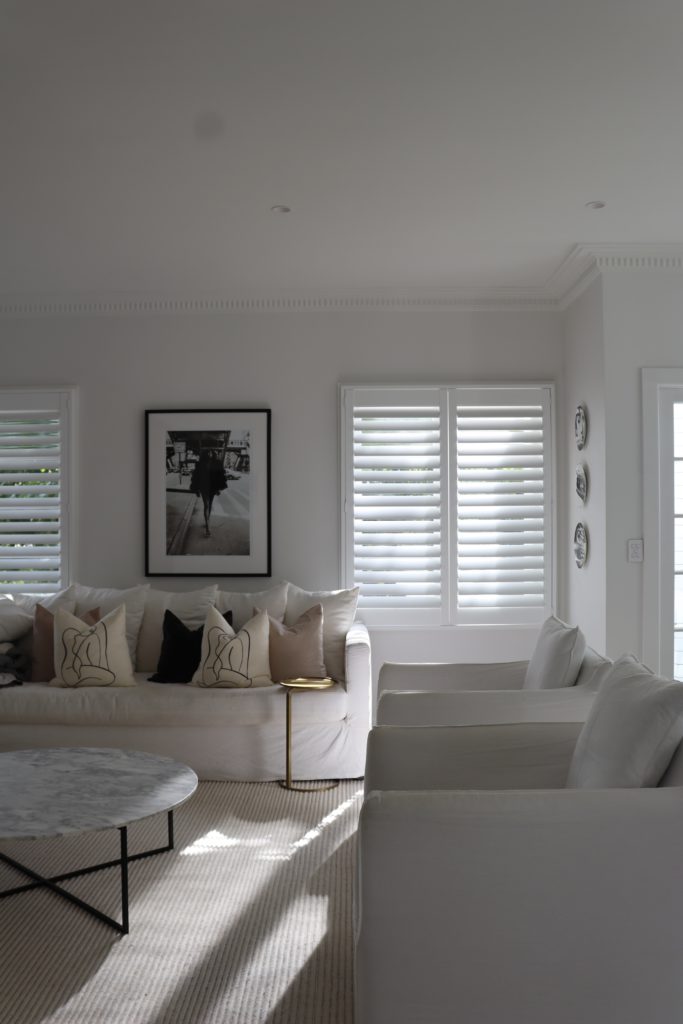
One of the most effective ways to ensure the end result of your renovation has a deigner touch is to plan out all the materials you will be using first. Start collating samples of flooring / paint / cabinetry / curtains and play around with them on a tray. Houses look best when the same tones are used through without different materials.
Repeating the colours and textures throughout the house will help create an effortless looking space. The house lounge in the image has a limited colour palette but the details & different materials add life & elegance to the space.
Keep details but modernise them
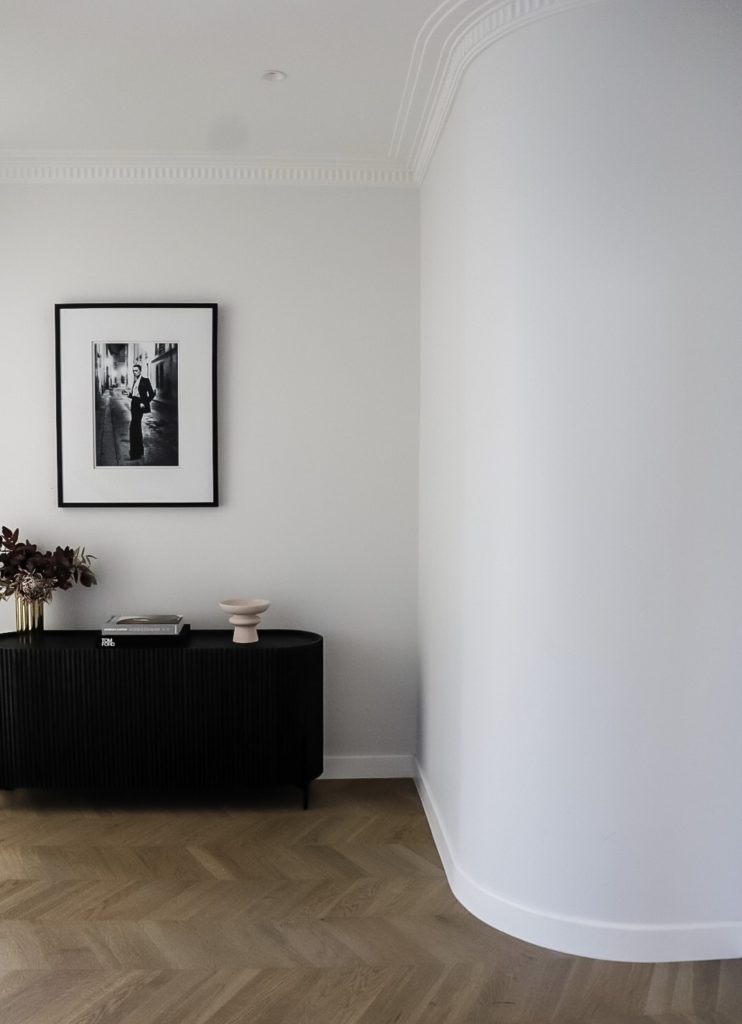
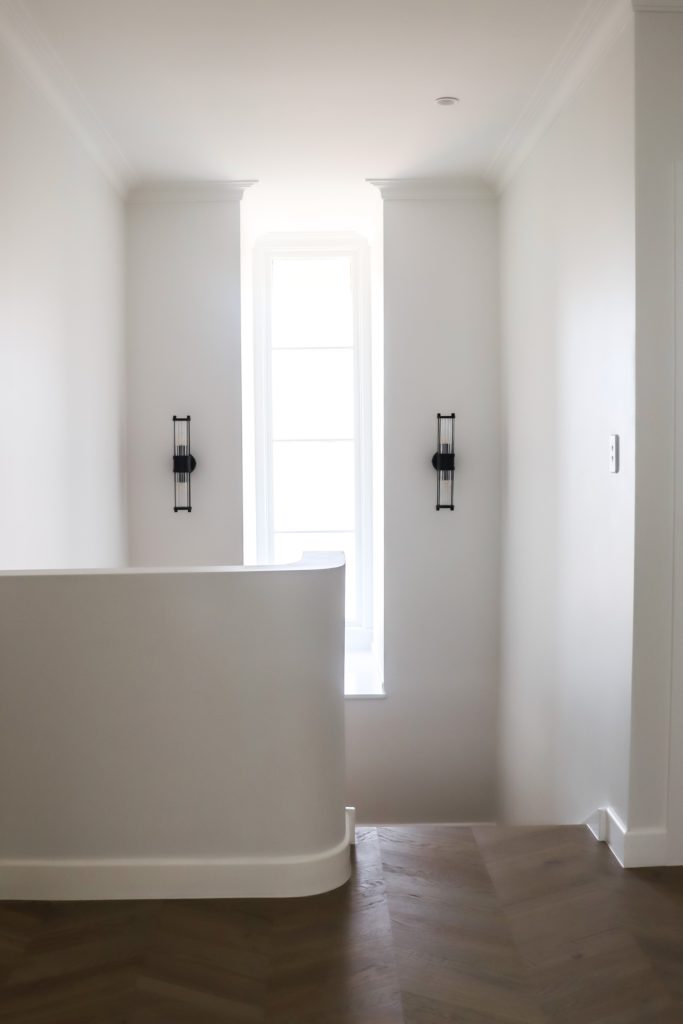
If you are renovating a villa or older style home – my advice is to keep those traditional details but modernise them. Ceiling roses and other details look great contrasted with modern oversized pendant lights.
Use materials sympathetic to the houses era for example adding curves to this art deco house with chevron flooring.
Kitchens
Features
Spend time researching details here. If the kitchen is white for example you can add interest with different cabinetry profiles and make a feature of the splashback or rangehood.
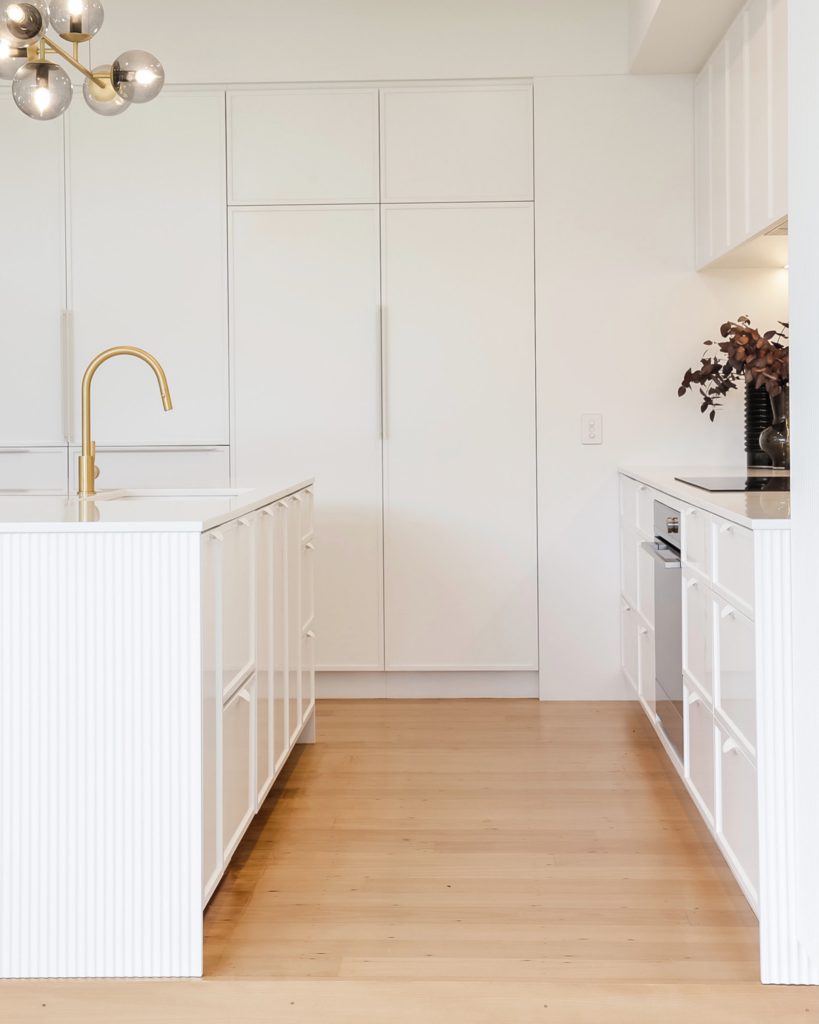
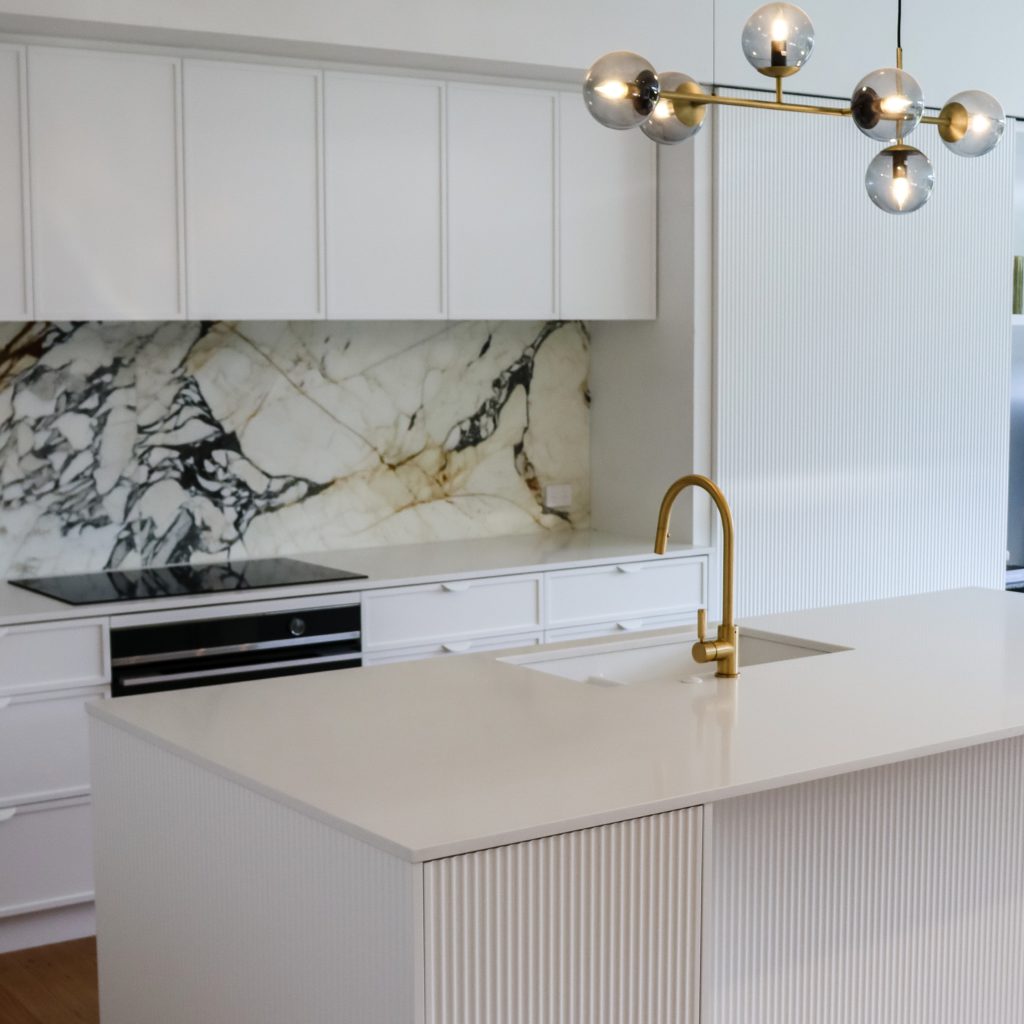
Decide on your features first and build your kitchen scheme around those.
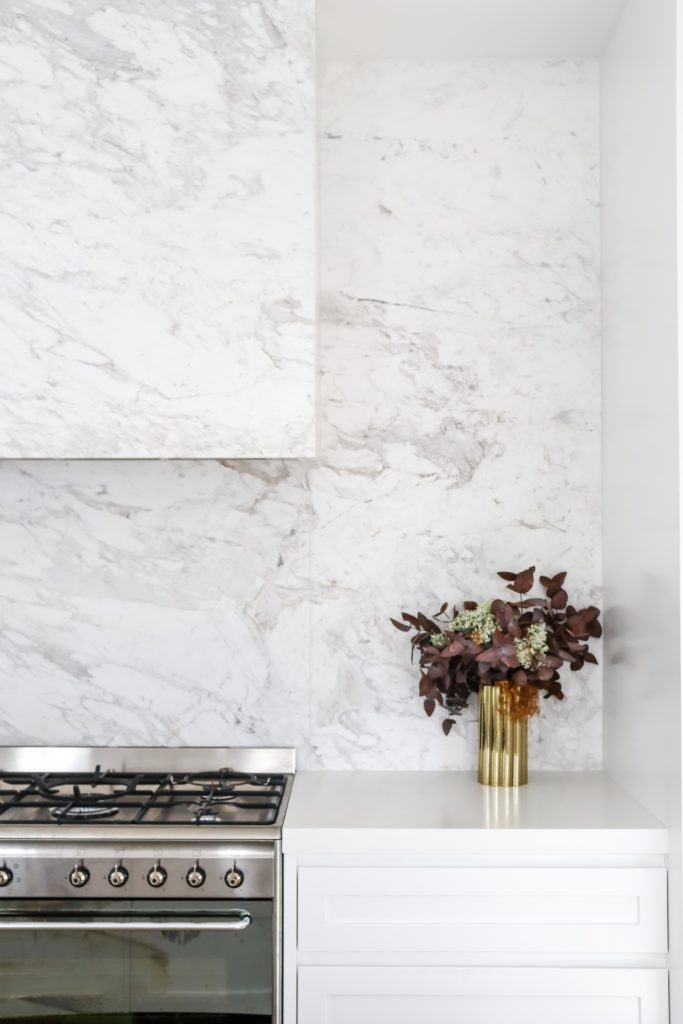
Benchtop
Do some research on what will suit your lifestyle the best. Nothing can replicate natural stone but the associated etching that comes with some stones like marble isn’t for everyone. Don’t be afraid to mix and match – you can use a practical engineered stone for the benchtops & natural stone in other areas such as splashback.
Numbers to Know
Like bathrooms plan your measurements out well in advance. Allow 1200mm between island & back bench or any walkway – this can be reduced to 900mm if space is tight.
For benchtop height 900mm is standard but if you have a particularly tall family members then you can increase 20mm – it’s important to think how you will be using the space & design this for you.
Hardware
Spend time looking at internal hardware, blum.co.nz has some great resources which can help you with getting the most usability out of your storage. If there isn’t space for a butler’s pantry then create an appliance garage utilising pocket doors that means area is hidden away when not in use.
Drawers are more practical than cupboards but also more expensive. They are more efficient and mean you can make much better use of space. Save under bench cupboards for larger itemns or items you don’t use very often.
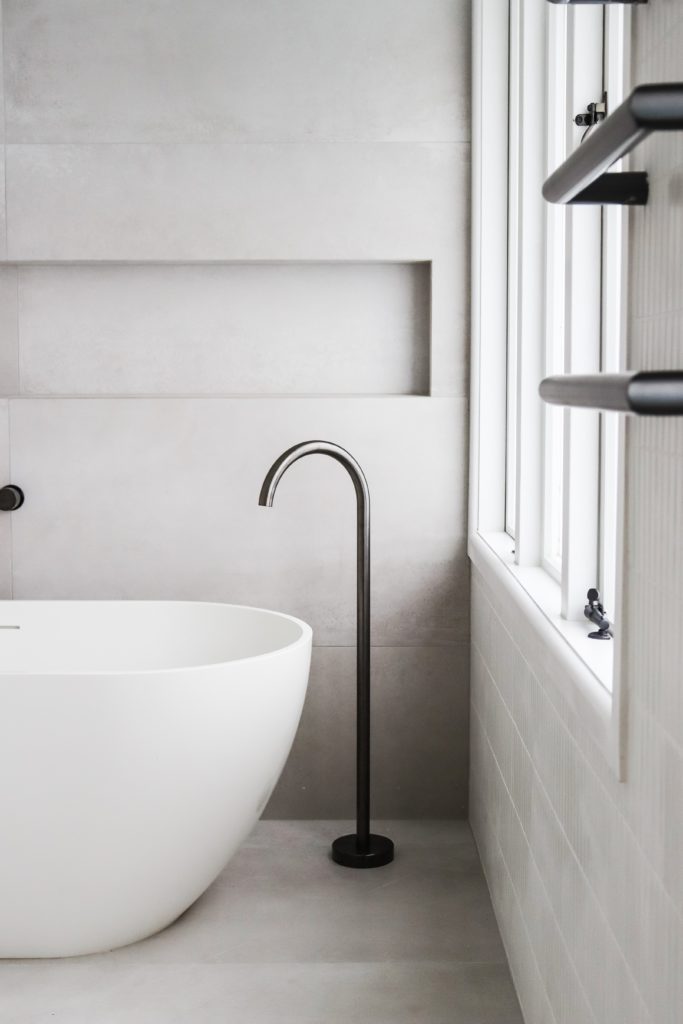
Beautiful Bathrooms
Planning is key to a successful bathroom renovation and although there are many details to cover off at this stage the few ones below are important to a great end result.
- Level entry
With new tiles and screed and potentially underfloor heating, you can end up with a 40/50 mm step up into the bathroom. If you are able to plan this out with your builder first then this can be avoided.
- Shower Niche / Walls
The longer the better – a full length wall shower niche looks more luxurious, is practical and is relatively straightforward to install if you let your builder know early on.
Height wise – 1000mm from finished floor to the bottom shelf – with inside height of the 300mm.
Also discuss with your tiler about mitring tiles if you don’t want to end up with a visible tile trim bordering the niche.
- Tile Layout
Never leave the layout of tiles to your tiler without a discussion around where you want your tile cuts to be. Avoiding the look of a smaller tile cut on the top or the bottom tile is key to ensuring a finished look. Also the same size tile on two walls (even if a different tile) should have perfectly lined up grout lines so discuss how you would like these to work.
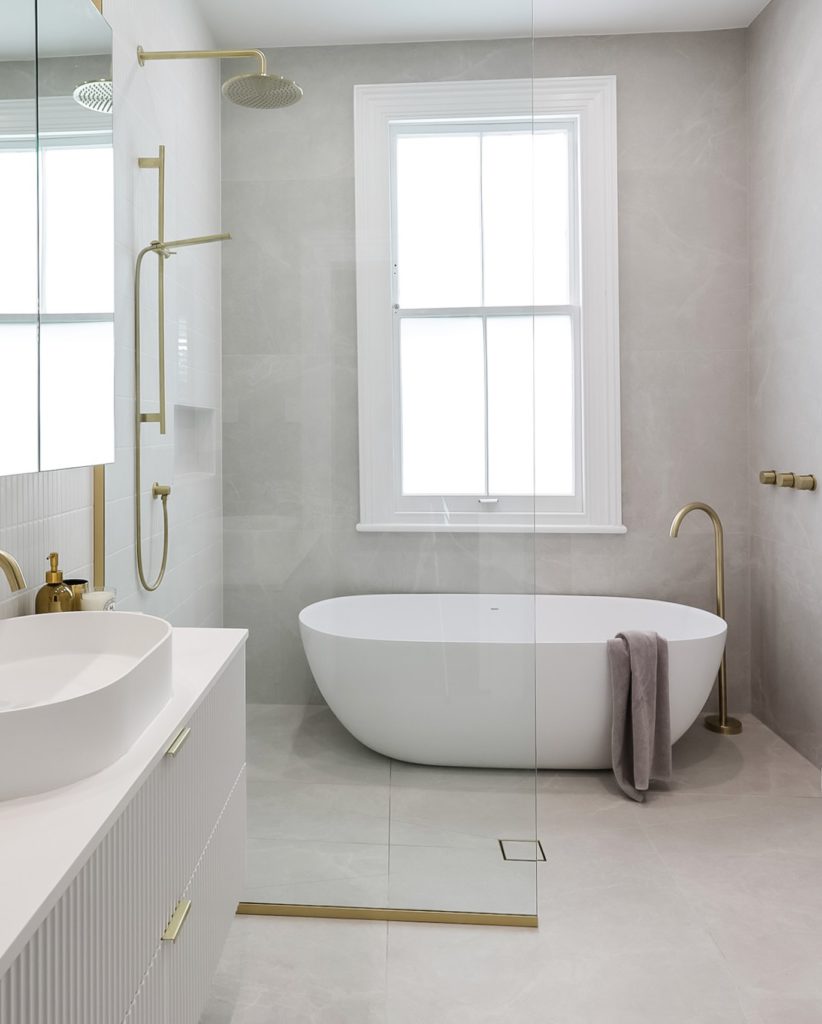
- Wet Areas
Wet rooms with a shower and bath behind glass are a great layout for rectangle bathrooms and give a good feeling of space. These need to go through a consenting process for waterproofing so always make sure you advise your builder in advance.
- Numbers to know
- A few handy tips to keep in mind when laying out your fixtures:
- Shower Mixers should be centred 1050mm off the floor
- In wall Bath mixers 150mm above the top of the bath
- Walk in Showers should be 1150mm wide with minimum access width of 650mm ideally 700mm
- Shower Size minimum 1000mm x 1000mm
- Vanity height 1000mm
- Individual towel rails – If 3 lowest 900mm off floor with 270mm gap in between
Decide on your features first and build your kitchen scheme around those.
Flooring
Engineered oak is a great product for giving you a variety of finishes and wider board options. All which help to add luxury to a renovation. Keep in mind that oiled engineered oak floors which have a lovely matt finish will be higher in maintenance than other matt lacquer finishes.
Keep the same flooring throughout living areas to add continuity to the space. Large floor rugs for lounge areas will add warm.
Another tip to plan out is all flooring finishes are varying thickness so if they are next to each other you need to make allowances for that.
Hardware
Often left the end – plan your door& window hardware well in advance. There are so many finishes available outside of chrome and it will really finish interior spaces.
Look for brands such as Wiindsor & Bankston that are readily available but have realised some very high end looking styles with a great range.